 Free Shipping over $5,000
 15 Years in Business
 18mo No Interest Financing
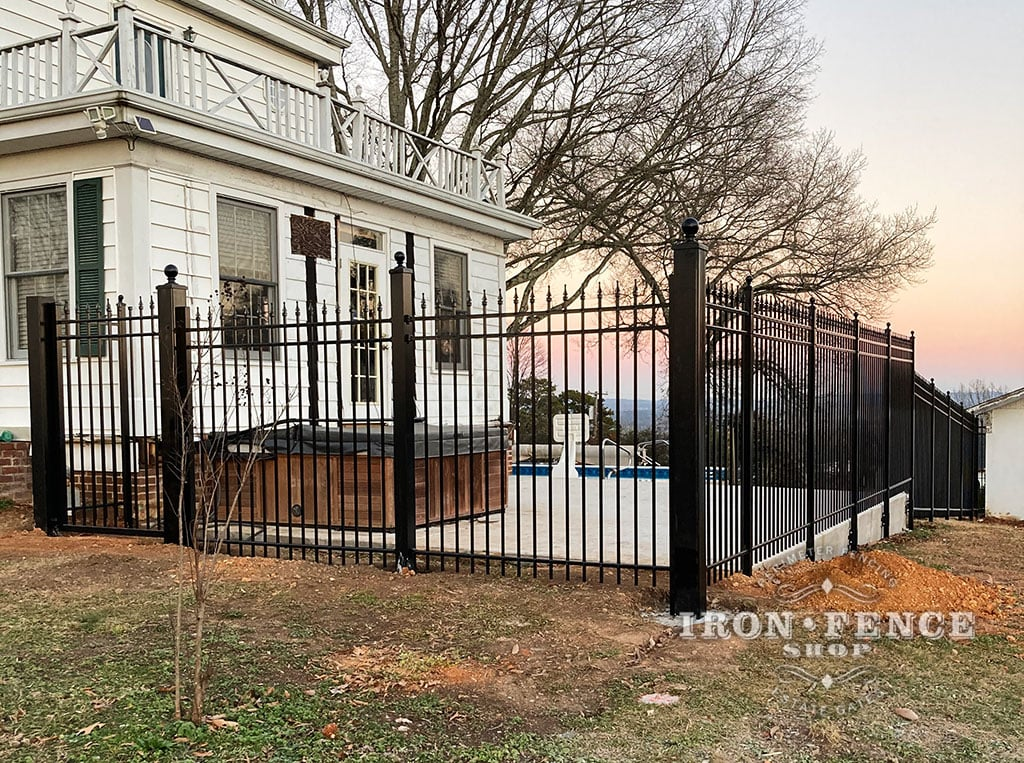
Installing an aluminum fence can be a straightforward, rewarding DIY project if done carefully and correctly. Infinity Aluminum® fencing offers lasting curb appeal, security, and low maintenance when properly installed.
This updated step-by-step guide outlines the process exactly as prescribed in the official Infinity Aluminum Installation Manual, helping you avoid costly mistakes and ensuring you achieve a professional result.
What Tools and Materials Do You Need?
Before installing, gather all essential tools and materials to ensure a smooth process.
Tools
Below is a list of essential tools that will help ensure your aluminum fence is level, secure, and built to last.
- String Line
- Shovel and Post Hole Digger (manual or powered) for Post Holes
- Tub, Wheelbarrow or Powered Mixer for Concrete
- Measuring Tape
- Level
- Rubber Mallet and Regular Hammer
- Hacksaw or Sawzall for trimming panels (if necessary)
- High Speed and Quality Drill or Power Driver
- Center Punch
- Socket and/or wrench set for installing the supplied gate hardware
- Caulk Gun
Proper installation preparation will save you time and frustration throughout the project and help ensure a clean, professional result.
Materials
With your tools gathered and ready, the next step is to ensure you have all the necessary materials to complete your aluminum fence installation.
Like the tools, each material plays a key role in your fence’s stability, longevity, and overall appearance.
- Infinity Aluminum® Fence Panels: The primary material, available in various styles and sizes to suit different aesthetic and functional needs.
- Routed Aluminum Posts (Line, Corner, End, Gate End): These provide the structural support for the fence and must be chosen to match the panels.
- Concrete Mix: Used to secure the posts in the ground, providing stability and durability. Any standard concrete mix will work. You can utilize reinforced or fast-setting concrete if you like, but it is not required.
- Infinity-Provided Fasteners and Brackets: Use only the self-tapping screws and brackets supplied by the manufacturer for attaching panels to posts.
- Large Size Gravel: Often used at the bottom of post holes to improve drainage and prevent water accumulation around the posts.
- High-Visibility Spray Paint: This will be used when marking where to dig your post holes as you determine their location in the layout.
- Steel Rebar or Wood Stakes: These will be tapped in ground and your string line wrapped around them when marking your layout for installation.
Organizing and making all your materials easily accessible before installation will create a smoother workflow and help minimize the chance of missteps.
Additional Considerations
Beyond tools and materials, a successful aluminum fence installation depends on a few often overlooked items that can make a big difference.
These additional considerations help ensure your safety during the project and maintain the fence’s aesthetic appeal once the work is done.
- Protective Gear: Safety glasses and gloves are recommended to protect against debris and sharp edges during installation.
- Paint or Touch-Up Kit: To address any scratches or marks that may occur during installation, ensuring a clean and polished finish.
|
Check Local Rules: Before you start, contact your HOA or local municipality. Some areas have specific rules about fence placement, fence height, or fence style. |
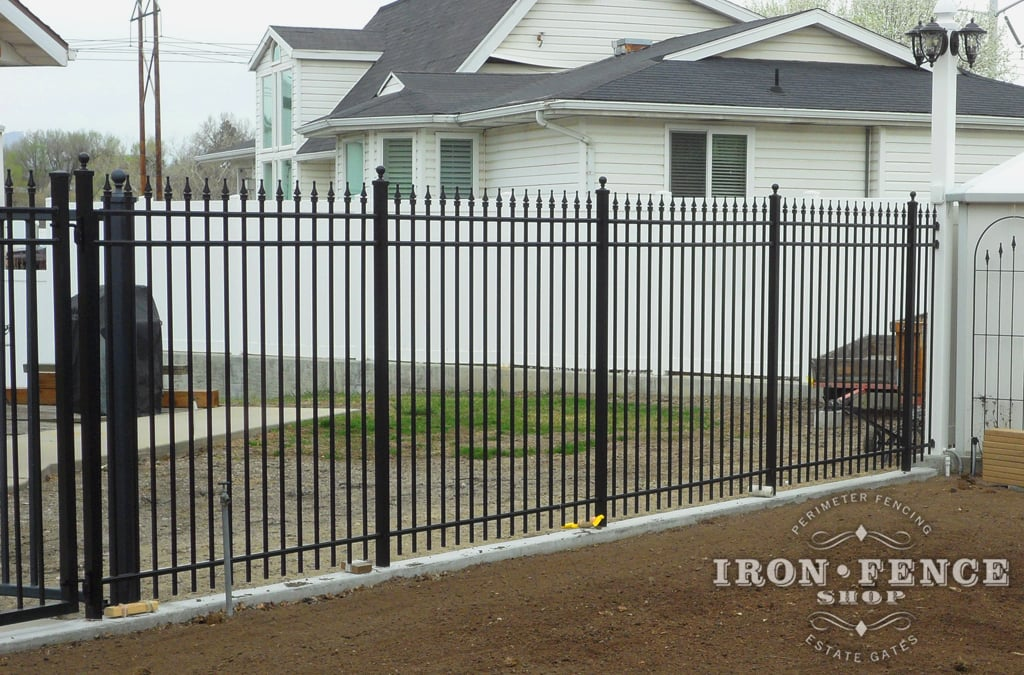
Step 1 – Lay Out and Mark Your Fence Line
Mark your fence layout using string lines and stakes outside the path. All post hole centers should be measured using Infinity’s “on-center” spacing specs based on your panel’s width.
For example:
- 6′ Traditional panels: 73″ on-center
- 6′ Signature panels: 74″ on-center
- 8′ Signature panels: 96″ on-center
Mark all corners, ends, lines, and gate post locations with stakes or spray paint.
Step 2 – Dry Lay Out the Fence Panels
Before digging holes or mixing concrete, perform a dry layout:
- Place your posts and panels on the grass according to the markings to confirm proper alignment and spacing.
- Make sure all gates are planned in accessible and level areas.
- Account for under-panel clearance (typically 1-2”) for mowing and drainage.
Step 3 – Dig Post Holes
Dig straight fence post holes at each marked location. The standard post hole depth is 24-36″, depending on the frost line and the post height.
Diameter:
- Walk gate posts or line/end posts: 6–8″
- Driveway gate posts (4×4): up to 12–24″
For best results, slightly overdig the depth and add gravel at the base of each hole for drainage.
Step 4 – Install Posts AND Fence Panels Together
Do not set posts in concrete before fitting panels. This is a critical error.
Infinity Aluminum® fence panels are designed to slide into post punches and must be installed simultaneously with the posts before concrete is poured.
- Mix the concrete to a thick peanut-butter-like consistency.
- Start at an end or corner and fill a post hole halfway with concrete.
- Insert the designated post and panel (rails should slide into routed punches).
- Use a spacer block under the panel to define the desired under-panel gap.
- Align everything using a level and string line.
- Fill the remainder of the hole with concrete, stopping 2-3″ from grade for backfilling later.
- Repeat this process one post and panel at a time. Use a mallet to fine-tune placement while the concrete is still wet.
Step 5 – Permanently Secure Panels with Screws
Once all panels and posts are set and aligned:
- Let the concrete cure slightly, then permanently fasten the fence rails into the posts using the provided self-tapping screws.
- Place screws ~½” from the bottom edge of the rail and ~⅜” in from the edge of the post.
- A center punch can help start the screw hole cleanly.
Follow this screw count:
- Each horizontal rail = 2 screws (1 at each end)
- 2-rail panel = 4 screws
- 3-rail panel = 6 screws
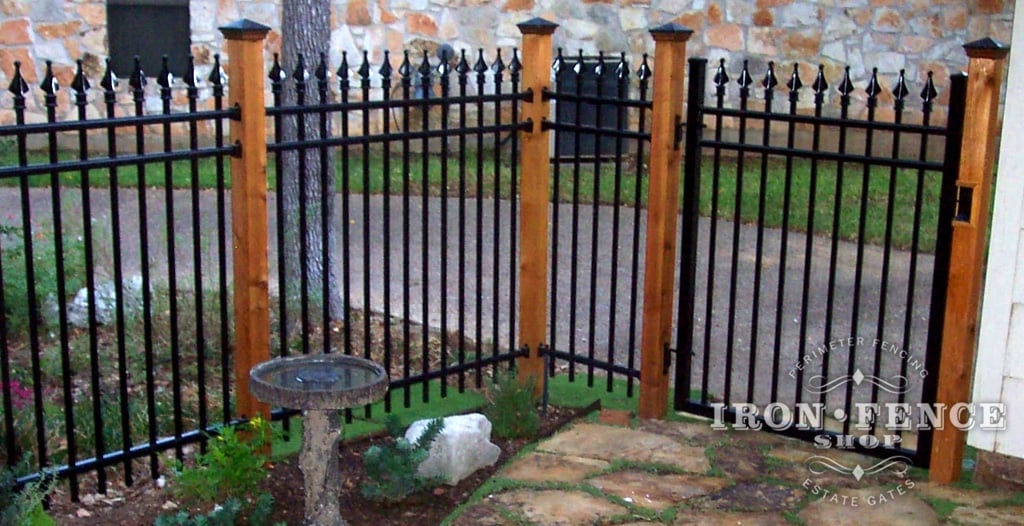
Step 6 – Set Gates with Correct Spacing and Hardware
Use Gate End Posts (heavier, reinforced) on both sides of gates.
Determine gate post spacing:
- Add gate width, hinge width, latch width, and one post to get the total on-center gate post measurement.
Always allow 1-2” bottom clearance for gate swing. Install J-bolt or self-closing hinges per the manufacturer’s instructions using matching hardware.
For double gates, ensure a drop rod is installed on one leaf. Do not hang gates until the post concrete is fully cured (24 to 48 hours minimum).
|
Gate Placement Planning: Plan aluminum fence gate locations early. Ensure the path is level and wide enough for foot traffic, lawn equipment, or vehicles. Gate posts should be set deeper and with more concrete for added strength. |
Step 7 – Touch-ups and Finishing
Use the included exterior adhesive to set post caps after installing the fence. Any cut metal should be notched properly and coated with touch-up paint.
Wipe adhesive and remove debris before leaving the job site. Inspect your fence annually. Use touch-up paint on gouges, and lubricate hinges as needed.
Key Installation Tips from Infinity Aluminum®
- Set posts and panels together while the concrete is wet.
- Wait 24 to 48 hours for the concrete to cure before installing gates.
- Use only supplied self-tapping screws—no substitutions.
- To follow a slope, rack panels before tightening screws.
- Always install all screw heads facing in the same direction (either inside or outside).
Common Mistakes to Avoid
Installing aluminum fence panels can be straightforward, but several common mistakes can compromise the integrity and appearance of your fence.
Cementing posts before inserting panels
- Using incorrect post types or spacing
- Not accounting for the 3/4” rail insert on end cuts
- Failing to rack panels before screw installation
- Substituting non-manufacturer fasteners
- Hanging gates before the post concrete sets
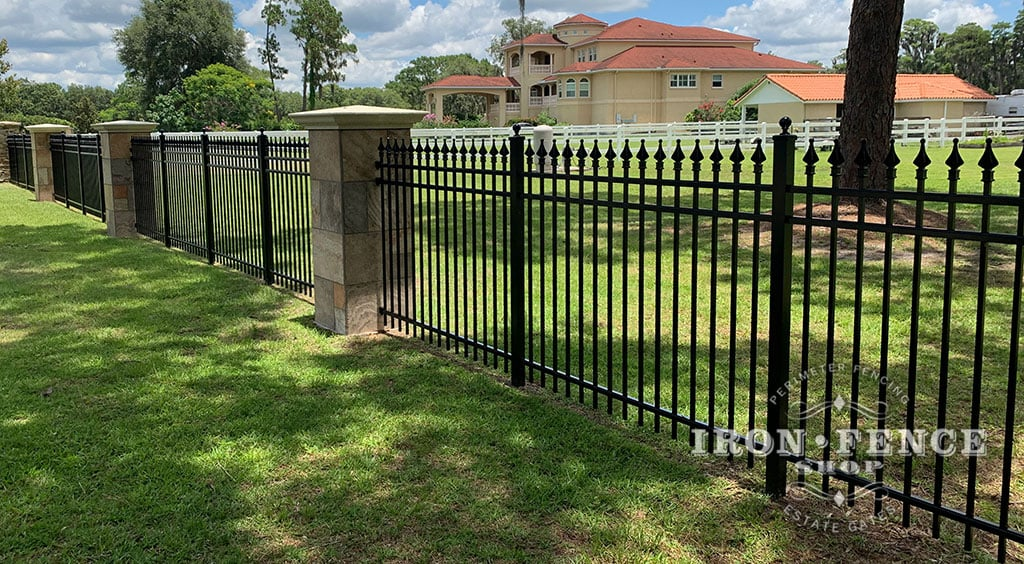
Finishing Strong with a Lasting Fence
Installing aluminum fence panels is more than just a weekend project. It’s an investment in curb appeal and overall value. By equipping yourself with the right tools and materials, and following each step with precision, you set the stage for a fence that performs as well as it looks.
Consistent attention to detail throughout the process will pay off in durability, strength, and a clean, professional appearance. With proper planning and execution, your aluminum fence system will stand tall for years.
Explore our premium selection of aluminum fence panels at Iron Fence Shop and contact us for expert advice, fence installation tips, and a personalized quote to kick-start your project.
Start building your dream fence today—strong, stylish, and made to last!